
My gallery made use of a Jquery lightbox which I obtained from this site. Fortunately, this free lightbox came as a download pack which included all the elements necessary for implementation including sample images, css and html files and of course the jquery scripts.
Preparing images in Photoscape
I started using Photoscape to crop and resize images last summer while I was working for Dominicanewsonline.com. Each image had to be resized twice, and since I was initially dealing with over 50 images this was painstaking, tedious and time-consuming. The thumbnails images were resized to 250x250 px while the larger images were sized down to a width of about 600 pixels.
Implementing the Jquery Gallery
In my website I had two images folders. One folder carried my images such as the banner and GIFs displaying text which I used for image replacements. The other folder I named galleryImages and this folder contained all the thumbnail and larger pictures to be used for my gallery page.
Using dreamweaver, I linked to the jquery scripts and the lightbox CSS in my head of my gallery HTML, as seen in the picture below. Initially there was some conflict, but this was resolved by going into the lightbox.js file and ensuring that it was calling images from the galleryimages folder instead of the images folder which was the original setting.
*linking to the jquery in my gallery html document

I then followed to the letter the installation instructions found on the How to Use section on the web page the lightbox was downloaded from. This resulted in my gallery html source code looking like this:

To get the images to work with the lightbox, the main requirement was to include the code rel=lighbox in the link to the images.
Image Replacements
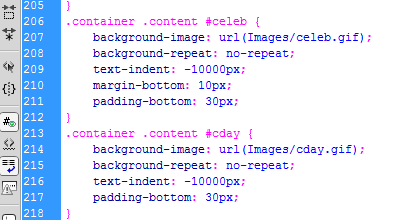
Two instances of image replacement was carried out on my gallery page to name the gallery. I created transparent GIFs in Photoshop and then placed them as background image behind the text they were replacing. I then used CSS to do a text indent and indented the texts to -10000 pixels so that they moved off the screen.
*image replacement in my main.css
*images used for image replacement:


Getting my ish online
The simplest step but also the most time consuming. I used the file manager system on webs.com. Unfortunately because I was using a free account, I had to add each image individually so this took quite a bit of time.
I also had to upload all of the jquery scripts in their js. folder, the lightbox css, my gallery html etc. In the end though, I had this working gallery which I am pretty proud of!


No comments:
Post a Comment